Q-Municator Signs: Creating Safety Signs from Your Computer
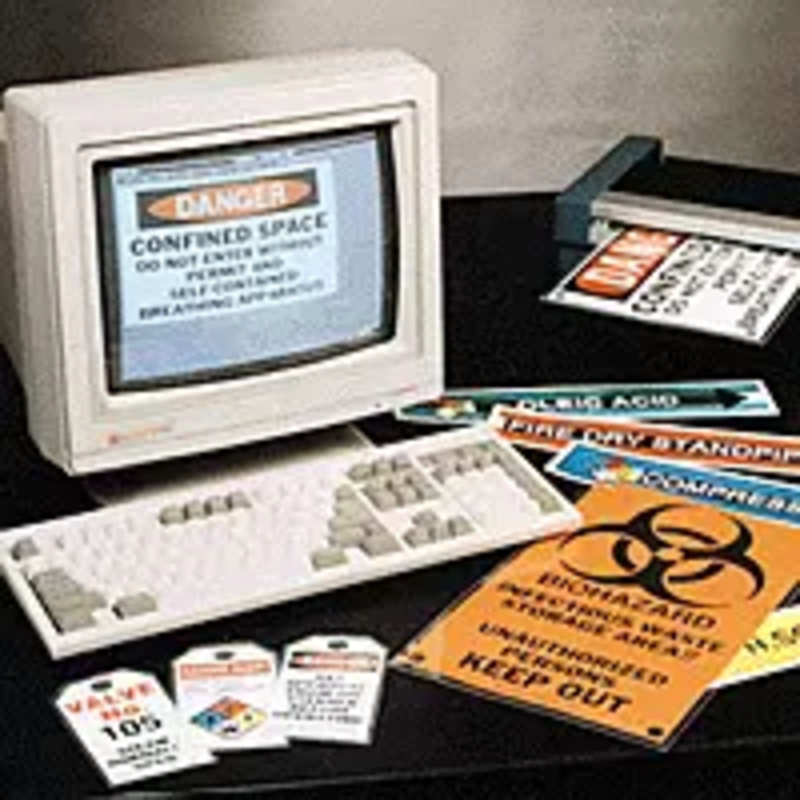
e variety of sign, tag, and pipe marker materials. A color printer is not required. This starter kit can also be used to produces tag, labels, and pipe markers. Additionally, 25 sets per kit are included as well. You can select from any of our variety of Q-Sign panels with 4-hole mounted pouches or Q-Sign panels with adhesive-backed pouches.
Spotting a safety sign is hard to miss. They are practically everywhere you see them. They can be found under the sink, on appliances and on the road. The main purpose of a safety sign is to warn the viewer of a hazard or potential danger. You are likely to see several dozen different types of safety signs along roads and highways when traveling. Most safety signs are symbol based therefore allowing for rapid recognition when driving or reading quickly.
Safety should be the number one priority among business owners. An efficient and safely run business is a prosperous one. Employees or customers can be warned of any dangers with safety signs. These safety signs can caution of hidden hazards, supply safety tips and a number of other safety points.
Designing your very own Q-municator design is not difficult to do.You can create a Q-municator sign using applications on your computer. It only requires a few things a little time. In fact, making safety signs from your own computer are not that difficult to do. It’s just a matter of typing and clicking. Creating safety signs does not entail graphics or extensive computer experience.
First and foremost, you should decide which safety message you want to convey on your sign. You can also use Idesco Safety’s On-Demand Library software to print your 'Ready-to-Go' sign. Use a small amount of words and a self-explanatory picture. You want the safety sign to be easily read and understood. Come up with a layout for your sign.
Secondly, open a word processing or graphics application. Microsoft Publisher is used in this example, but Microsoft Word or similar programs can be used. Use a blank document. When you are finally ready to create your own safety message, just click on the "Text Frame Tool" or "WordArt Frame Tool" and use your mouse to place it on the sign. Type your safety message in the text frame created.
Then gather or create any graphics, pictures or photos for your safety sign. Use the provided clip art or add graphics already on your computer. Select "Picture" from the Insert Menu. Choose the type of graphic you want. Click on "Insert" to add it. Select any ANSI Software Symbol and place it on your sign. Place the printed output in laminating pouch and laminate in just 15 seconds.
Generous starter kit is included with a wid